Hey there, fellow bloggers and affiliate marketers. This is Parvez and today I will guide you on creating a new Payoneer account and receiving Amazon Affiliate payment via Payoneer. This will help you receive your payment quickly and easily – better and much faster than receiving it via cheque.
As you know, Amazon does not provide direct bank transfer facility to affiliates not living in the same country as they promote. An affiliate could be living in India, for example, and he/she could be promoting products of Amazon US. In such cases, there’s only one practical way of receiving affiliate payments: Cheques.
Cheques may sound like an ancient way of sending money. While they’re still being used widely, most companies now prefer direct bank transfers or PayPal as their way of sending money to their clients/affiliates all over the world.
The Problem in Receiving Affiliate Payment via Cheque
Amazon does not provide bank transfer facility to their affiliates located outside of the country they operate in. For example, if an affiliate is promoting Amazon US products but he/she is located in an Asian country, Amazon only offers the payment via cheques — that too, only after your earnings reach $100.
Now, you know how much time it takes before you actually get the money in your hand by cheques. It takes about a month before the cheque arrives at your address. After you deposit it in a bank, it takes another month before the payment gets credited to your account: That’s almost two months!
Sometimes the cheque doesn’t arrive at all. You keep waiting for it to reach you but it simply gets lost in transit. In which case, you need to ask Amazon to send you another cheque. This adds two more months before you get your hard-earned money.
How Can Payoneer Solve This Problem?
To overcome the issues with cheques, you can use Payoneer and get your payment transferred directly into your bank account. For this, we will be using a one-of-its-kind service by Payoneer called Global Payment Service.
With Global Payment Service, you will be able to instruct Amazon to transfer your payment in a (virtual) bank account in U.S.A. This virtual US bank account will be held by Payoneer under your name on your behalf.
Once Amazon transfers payment to the virtual bank account, you will be able to withdraw that amount right into your bank account. This process usually takes merely three working day (or sometimes a bit more) — which is way better than waiting for two months.
Sounds interesting, right? Keep reading to learn how to receive Amazon Affiliate payment via Payoneer.
For this to work, we will first need to create a new Payoneer account and then change our payment method in Amazon affiliate settings to Direct Deposit.
How to Create a New Payoneer Account?
It’s very simple to create a new Payoneer account. Before proceeding, keep your bank details ready. You will be asked to enter details such as your bank account number, IFSC/SWIFT code etc while creating an account.
Also keep a Government approved ID ready. It should show your full name (as you will enter in Payoneer account) and a photograph. It could be your passport for example. Indian users can use their PAN Card, AADHAAR Card etc.
Once you have everything handy, proceed to account creation.

Step 1
Go to Payoneer and click Sign Up. You will be presented with a new account form. The first step is to enter details about yourself.
Good to know: If you sign up with Payoneer using this link, you will get $25 signup bonus in your Payoneer account once you earn $100. Sounds cool, doesn’t it?
Enter your legal name (as it appears on your ID), email and birth date. The email you enter here will be your login ID.
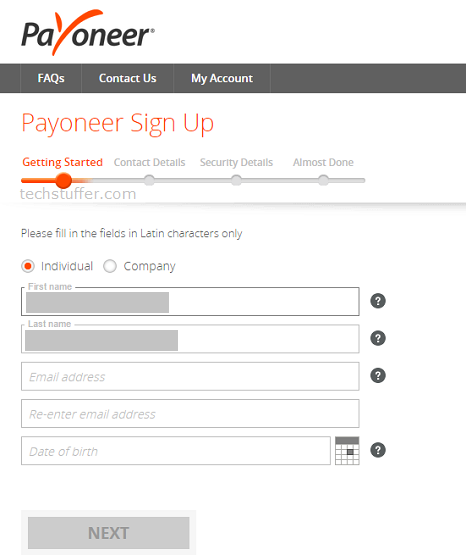
Click Next.
On the next page, enter your contact details. Make sure to enter your correct address and a verifiable phone number.
Click Next.
Now it’s time to enter your password and set recovery option. Enter a strong account password. Also choose a security question and enter the answer for it. This information can be used to recover your password as well as to verify yourself while contacting Payoneer support. Make sure to remember this answer.
Click Next.
The last page is the most important one. Here you will add your bank account information. This information will be used to transfer money, so make sure not to make any mistakes here.
Also note that there’s no way to edit your bank details once you leave this page. You will have to contact Payoneer to make any changes here.
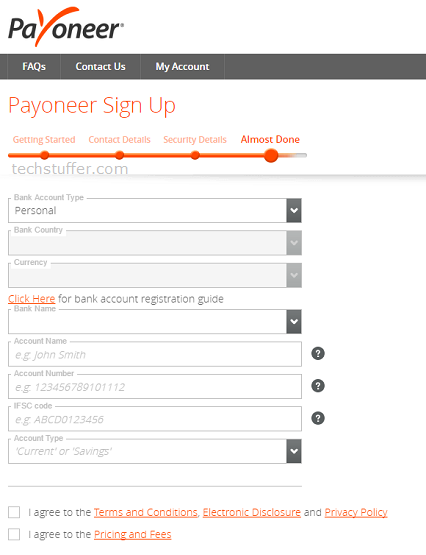
Select bank account type, country and currency (if not selected automatically).
Select your bank from the Bank Name list.
Enter the name as it appears on your bank account.
Enter your bank account number, IFSC/SWIFT Code (as asked) and the bank account type (like Savings or Current).
Triple-check the information on this page, review their ToS, Price and Fees schedule, and other information as applicable. Once done, select both I Agree checkboxes and click Submit.
Step 2
Once you submit your details, your Payoneer account will be created. You will receive an email confirmation too.
Once your account is created, it will enter the Approval Phase. it can take up to a week (or more) before your detail is verified and your Payoneer account is approved. Keep patience and wait for an email confirmation for the same.
Step 3
While you wait for your account to get approved, you can submit the information required for Payoneer Global Payment Service to get it approved, too.
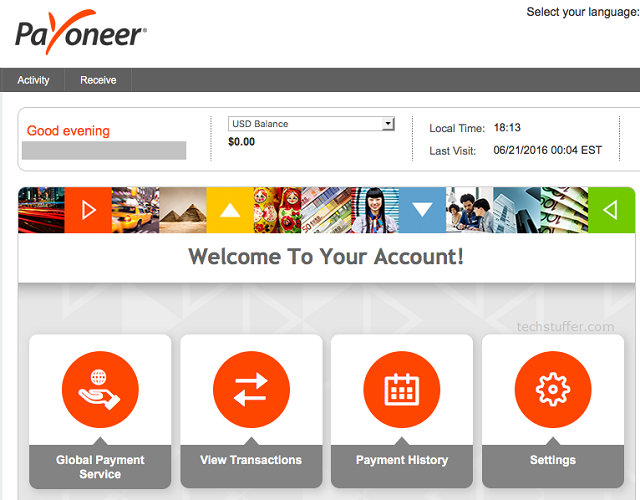
Go to Payoneer and log-in with your credentials. Click Global Payment Service. Here you can find your virtual account details like bank name, account number, routing number and account type.
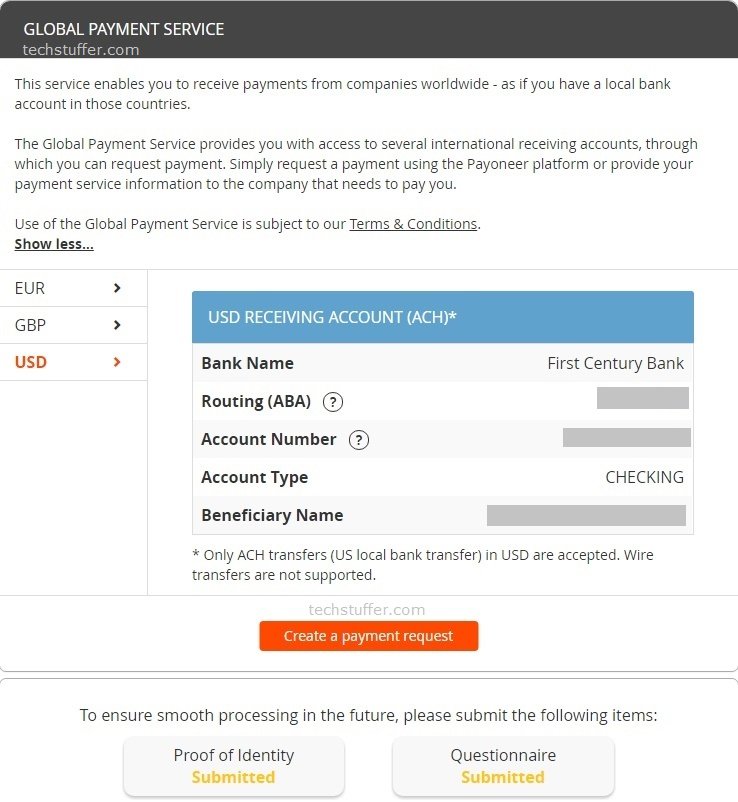
Don’t worry if your bank appears to be different in your account. You will need all information on this page while you make changes to your Amazon Affiliate payment method later.
Once you review the information on this page, find Proof of Identity and Questionnaire buttons on the same page. We will now enter the required information so Payoneer can verify our request for Global Payment Service.
Click Proof of Identity and upload copy of your Government approved ID. It can be a scanned copy or a photograph. Whatever it is, it should be a high-resolution and clear copy. Your name, photograph, and other information should be clearly visible.
Once you upload this document, you will receive a confirmation.
Step 4
Now go back to the Global Payment Service page and click Questionnaire. This is where you’ll need to tell Payoneer about the work you do and where you’ll get the money from (source of income).
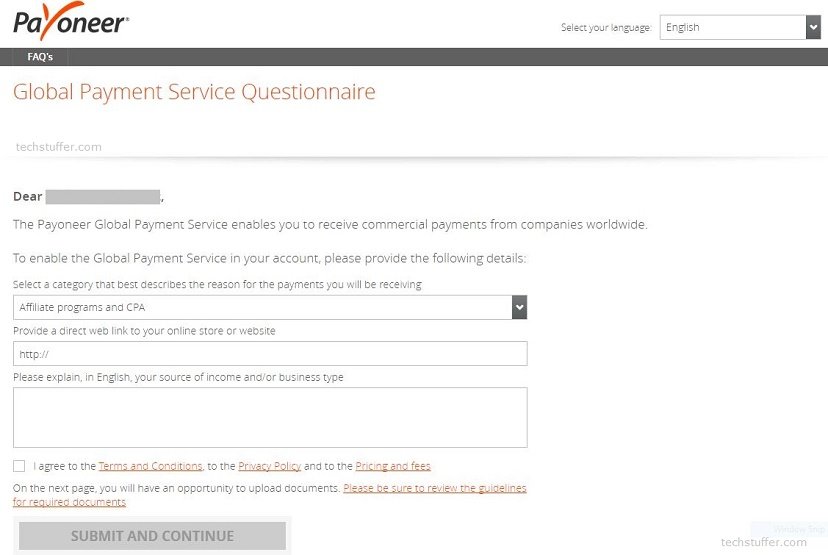
Select the category that best describes the work you do. In my case, I will choose Affiliate programs and CPA. You should also select the same. You can also choose Freelancer if this is where most of your payment comes from (If you receive payment from networks like Fiverr or Upwork).
Enter the URL of your website/blog. This is desirable for better chances of approval.
Finally, explain why you will be using Payoneer Global Payment Service. Also explain what kind of work you do and where do you receive your payment from. Enter your details clearly in an explanatory manner.
For example, you can write that you are a blogger and receive your payment from Amazon Affiliates. If you receive payment from other networks, mention them too (even if you won’t be receiving your payment via Payoneer from these networks). All this information leads to a successful application.
After you finish explaining your work and source(s) of income, review it. You will not be able to change it later, so enter everything you can to make yourself clear.
Once you review this information, select I Agree checkbox and then click Submit and Continue button.
That’s it. Your application is now sent to Payoneer.
Step 5
Go back to Global Payment Service page. Here you should see whether your proof of identity was accepted (or not). If accepted, it should show as Approved. if it was not accepted, you will need to upload it again.
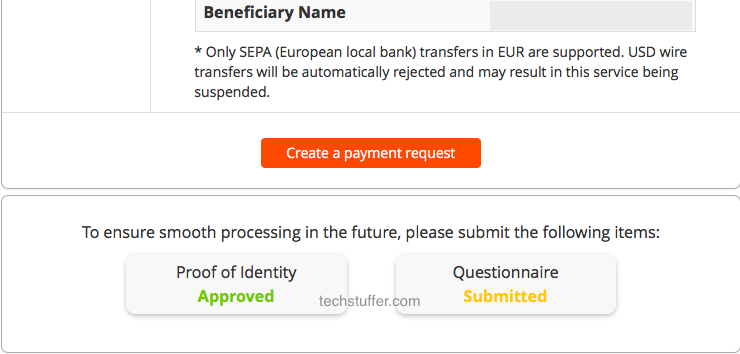
The Questionnaire field should show as Submitted. Note that this will not be shown as Approved until you receive your first payment via Payoneer. So don’t worry if it keeps showing as Submitted and not Approved.
Step 6
Now that we have created a new Payoneer account, submitted all information correctly and submitted our questionnaire, it’s time to wait for Payoneer to approve your account.
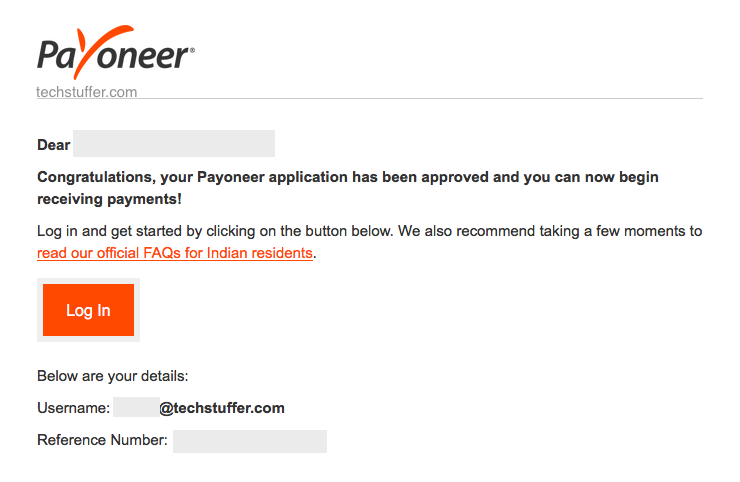
As I said earlier, it takes about a week or more before your account is approved. You will receive an email confirming the same.

Receiving Amazon Affiliate Earnings in Your Payoneer Account
After your Payoneer account is approved, you can provide your (virtual) bank details to Amazon to receive your next payment via Payoneer instead of a cheque.
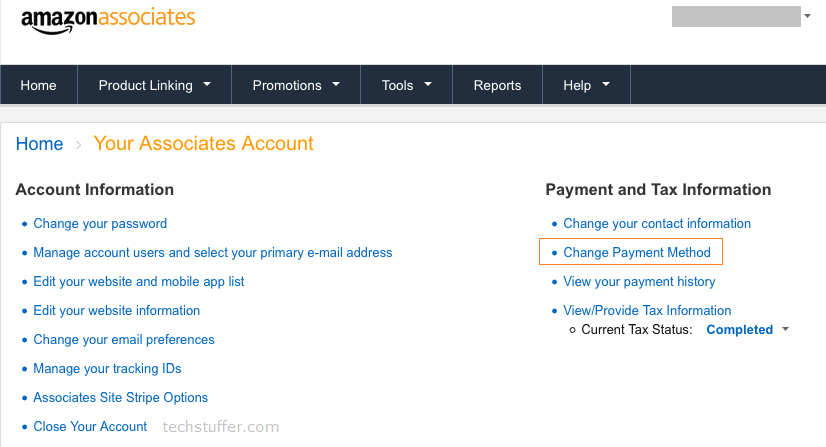
For this, log-in to Amazon Associate Central and go to Account settings page. Click Change Payment Method.
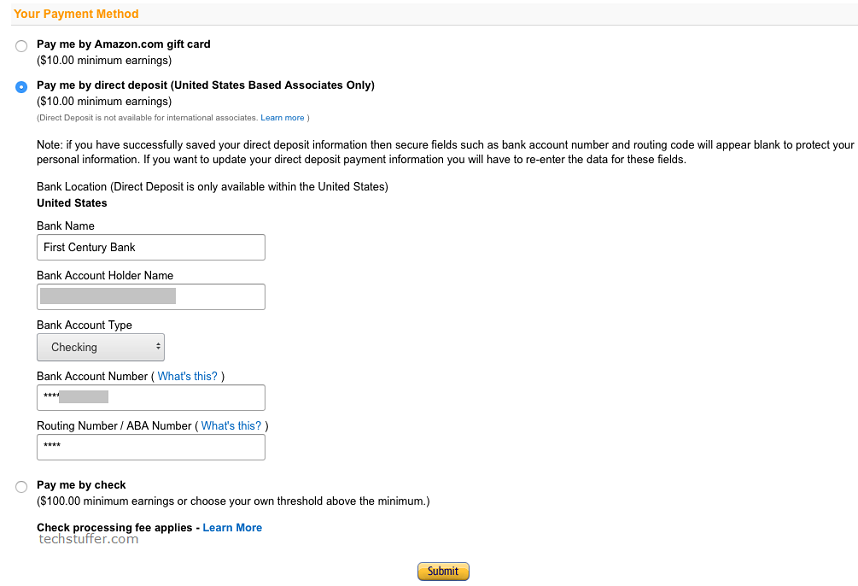
Select Pay me by direct deposit option.
Now we will enter the information provided by Payoneer. Go to Payoneer dashboard > Global Payment Service.
Enter all required information on Amazon as they appear on this page. Generally, you need to provide bank name, account holder’s name, account type (Checking), account number and routing number. All this information is available on Payoneer.
Review the information you entered and click Submit.
That’s it. Now Amazon will be sending your affiliate commission via Direct Deposit. The money will go to your virtual bank account and from there, it will land in your Payoneer account. Note that all changes you made here will be applicable from the next month.
After the money lands in your Payoneer account, you can withdraw it into your actual bank account in your country (if not done automatically).
Receiving Amazon Affiliate Payment via Payoneer: Summing Up
Receiving Amazon affiliate payment via cheque could be a headache. You have to wait for around two months before receiving the payment in your bank. Sometimes the cheque doesn’t reach you at all and that means waiting more.
Payoneer solves this problem by offering Global Payment Service. Using this service, you get a virtual bank account in in the U.S., U.K. or a European country.
Amazon sends your payment to this virtual account and then Payoneer can transfer it to your local bank account. The biggest benefit of this is the amount of time it saves. It usually takes just around a week in total to receive your payment. In addition, Amazon will send you payment after your earning reaches just $10 instead of $100.
It was easy, wasn’t it? This is how you can receive Amazon Affiliate Payment via Payoneer: the easiest and quickest way of receiving your money. No more waiting, no more frustration.
That’s it, folks. I hope I was able to make myself clear and you found this article on how to receive Amazon Affiliate Payment via Payoneer useful and easy to follow.
Support Me: If this article/tutorial helped you today, please consider supporting me and help me run frunction.com