
WordPress is definitely one of the most preferred medium not only for bloggers, but commercial websites as well. According to WordPress’ statistics, it powers about 24% of the whole Internet. If you wanted to start your blog, you must have heard of WordPress for sure. And for any blogger out there, configuring their WordPress site for better performance is top priority. Once you are done with domain purchasing, hosting and WordPress installation, you must be willing to achieve better speed and security for your WordPress site.
On other hand, Cloudflare is one of the most widely used CDN service provider which one of the best way to speed-up your WordPress site while also securing it. With proper configuration, Cloudflare and WordPress work insanely well together. In this tutorial, you will learn how to configure Cloudflare for WordPress site.
I will divide this tutorial is three major steps.
Step 1) Registering with Cloudflare and setting up.
Step 2) Configuring WordPress to work with Cloudflare.
Step 3) Configuring free SSL by Cloudflare with WordPress site.
Before proceeding, ping your website and make note of its IP address. Also go to https://gtmetrix.com/ and enter your domain. Make note of the score. We will use these to compare once we are migrated to Cloudflare.
It is assumed that you already have a self hosted WordPress site all set with domain and hosting. You are required to have a little knowledge to change nameserver settings with your host. We are not going to use the inbuilt facility provided by your host to setup Cloudflare.
Let us begin, shall we?
Step 1: Registering with Cloudflare and setting up
Step 1.1: Creating Cloudlflare account.
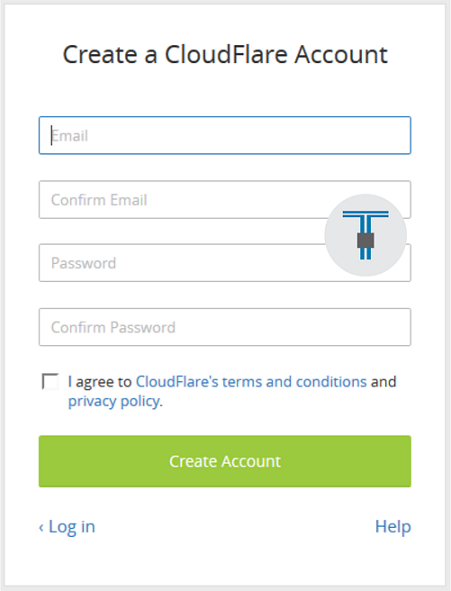
Go to https://cloudflare.com and click Sign Up now button. Fill in your email and password and click create account.
Once an account is created, you can proceed to next steps.
Step 1.2: Setting up Cloudflare.
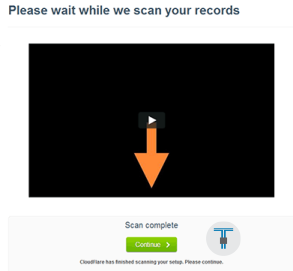
Once you create Cloudflare account, it will ask you to add a site. Enter your WordPress site’s domain name and click Add Website. Cloudflare will now scan your site’s DNS records. It might take around 60 seconds to complete the process. After this process is finished, click Continue.

Step 1.3: Configuring DNS
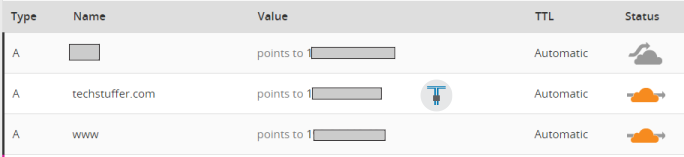
Cloudflare will now display the DNS records it found. You will have to click the grey cloud button in front of your site’s domain and subdomain (i.e – www) and turn it orange in order to pass the traffic through Cloudflare’s network. Activate Cloudflare by clicking on grey button and turning it to orange. Once you are done, click on I’ve added all missing records, continue.
Step 1.4: Plan selection
After you are done with DNS settings, it’s time to choose a Cloudflare plan. We are going to opt for a free plan. So choose Cloudflare Free plan and continue.

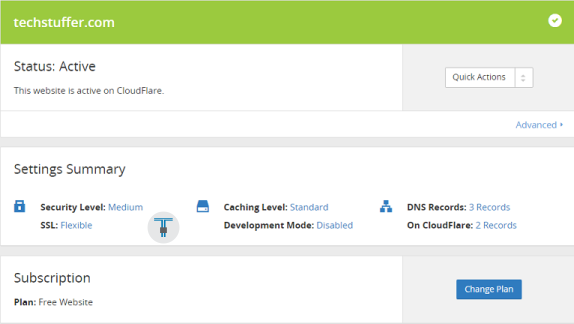
Step 1.5: Playing with Cloudflare settings
Now we are going to set some of Cloudflare settings like performance level and security level. It is recommended that you keep all settings as it is. You can change them after you are done with configuration.
Step 1.6: Replacing current nameservers with Cloudflare nameservers.
At last step of Cloudflare configuration, Cloudflare will provide you with two nameservers. For example – TESS.CLOUDFLARE.COM and IVAN.NS.CLOUDFLARE.COM. Now we are going to replace our current nameservers with those provided by Cloudflare
To do so, login to your hosting provider’s account and choose your domain name. Look for nameserver settings there. Please note that location of these settings varies host to host. Consult your host if you need assistance. I have shown Namecheap’s setting below.
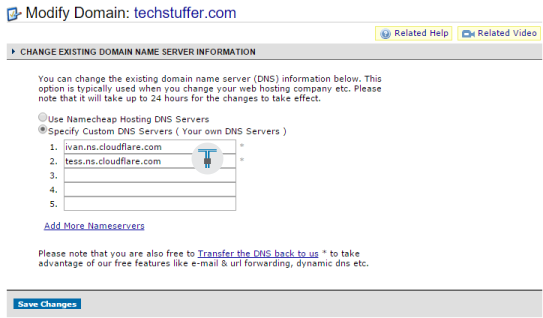
Choose Use Custom Namservers or similar option and enter those two nameservers provided by Cloudflare and save this change. It will take around 24 hours or less to apply new settings to your domain. Ours was almost instant though.
Now go back to Cloudflare and click I’ve updated my nameservers, continue to finish setup. If all went well, Cloudflare will show success message. If not, you might have to wait until your nameservers are updated and change is reflected in Cloudflare status.
That’s it. You have configured Cloudflare. In the next step, we are going to configure WordPress for Cloudflare.
Step 2: Configuring WordPress to work with Cloudflare
Okay. So we are done with Cloudflare setup. Phew! Now let us head back to WordPress set it up. Go to your WordPress Dashboard, navigate to Plugins. Click Add New, search for Cloudflare and install it. Activate Cloudflare plugin after it’s installed.
Now go to Settings -> Cloudflare and enter your domain name, email ID and Cloudflare API key. Click on Get this? link to get your API key. Make sure development mode and HTTPS Protocol Rewriting settings are off in your setting. We will touch this later. Click on Update options to save settings.

You have now finished second step to configure WordPress for Cloudflare. Well done! At this stage, all setup needed to configure Cloudflare for WordPress is finished. You can now ping your site and it will respond from a different IP (Cloudflare IP address) than before. Which is an “all good” sign for us.
You can go to Cloudflare and change a few settings like caching level, minify and enabling Rocket Loader. In our tests we have found that enabling Rocket Loader in Automatic mode will make your site super fast. But it might not play well with some scripts on your site. So turn it back off if your site breaks.
Also go back to https://gtmetrix.com/ and check your site score. You will notice better performance.
That’s it. You have now configured Cloudflare for WordPress. You were reading this tutorial on techstuffer.com. If you found this tutorial helpful, please share with others. Feel free to comment if you need any assistance.
Coming soon: Further reading Configuring free SSL by Cloudflare with WordPress site
You can follow Tech Stuffer on Twitter and join us on Google Plus.
Support Me: If this article/tutorial helped you today, please consider supporting me and help me run frunction.com