
How to Take Screenshot on Surface Devices Running Windows 10
Method 1: Using Windows Logo
The fastest way to take a screenshot on your Surface device is to press and hold the Windows logo on the front of the device and then press the volume-down button. That’s it. The screenshot will be saved to the Screenshots folder of your Pictures library under This PC.
Since the Windows logo does not appear on Surface 4 and Surface Book, you can press and hold the power button and push the volume-down button to take a screenshot on these devices. This method works on Surface Book regardless of a keyboard is attached or not.
Method 2: Using Windows and PrtScn Key
If your Surface typecover has a PrtScn key on it, you can take a screenshot by holding down the Windows key on your keyboard and pressing PrtScn key. The screenshot will be saved to the Screenshots folder of your Pictures library under This PC.
Method 3: Using PrtScn Key
You can simply press PrtScn key itself. The screen captured using PrtScn key will be saved in the Screenshots folder of your Pictures library on OneDrive as shown below.
Method 4: Taking Screenshot of Active Window
You can also take a screenshot of just the active windows on your screen. Hold down the Alt key and press PrtScn. The captured image will be saved in the same OneDrive location as described above.
Method 5: Taking Screenshot Using Surface Pen
Double click the top button of Surface Pen to take a screenshot of your desktop. The full screenshot will be saved in your Screenshots folder on OneDrive. This method also gives an option to crop your image immediately after capturing.
After you capture a screenshot, a greyed-out version of the image will show up on your screen. You can use your Surface Pen to drag the tip of the pen from one corner of the portion you want to capture to the opposite corner. When you lift the pen tip, your selection appears in a new page in OneNote.
Method 6: Using Sniping Tool
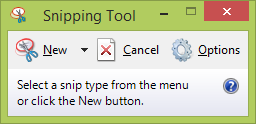
Snipping Tool is an in-built program in Windows operating systems. It offers more functionalities than above methods. Type Snipping Tool into Cortana or search the Windows Accessories folder under All Apps.
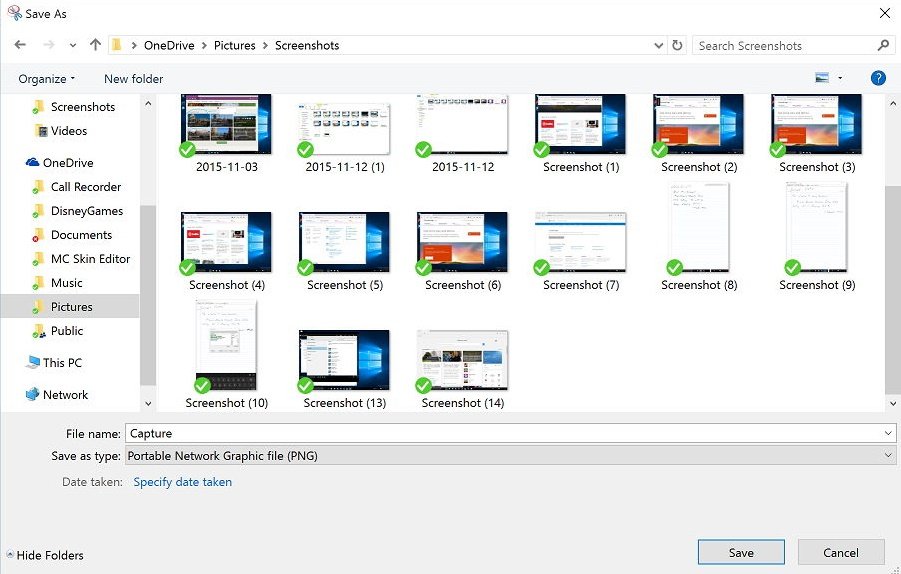
Once Sniping Tool is open, you can take screenshots of the full desktop, an active window, or select a part of the screen of your choice. A screenshot taken via Sniping Tool can be saved at any location you choose as a PNG, GIF, JPEG, or HTML file.
This is it. You were reading How to Take Screenshot on Surface Devices Running Windows 10 on techstuffer.com. If you found this article useful, share it with others.
Until we meet next.
Support Me: If this article/tutorial helped you today, please consider supporting me and help me run frunction.com