If you have followed updates on this website for a while, you might know I have migrated to a VPS and use CyberPanel to manage my WordPress websites. CyberPanel WordPress installations run on OpenLiteSpeed web server – the open-source edition of LiteSpeed. It also comes with a free LiteSpeed cache plugin, helping make WordPress websites run faster.
A few months back, I started seeing a notice in one of my WordPress site’s dashboard which said LiteSpeed cache plugin was upgraded and I should refresh the page. The notice wouldn’t disappear after refreshing the page or clicking the X button at the end of the notification. I carried on like this for a while, ignoring the notification which will come and go at its own will. I stopped bothering with page refresh or trying to close it.
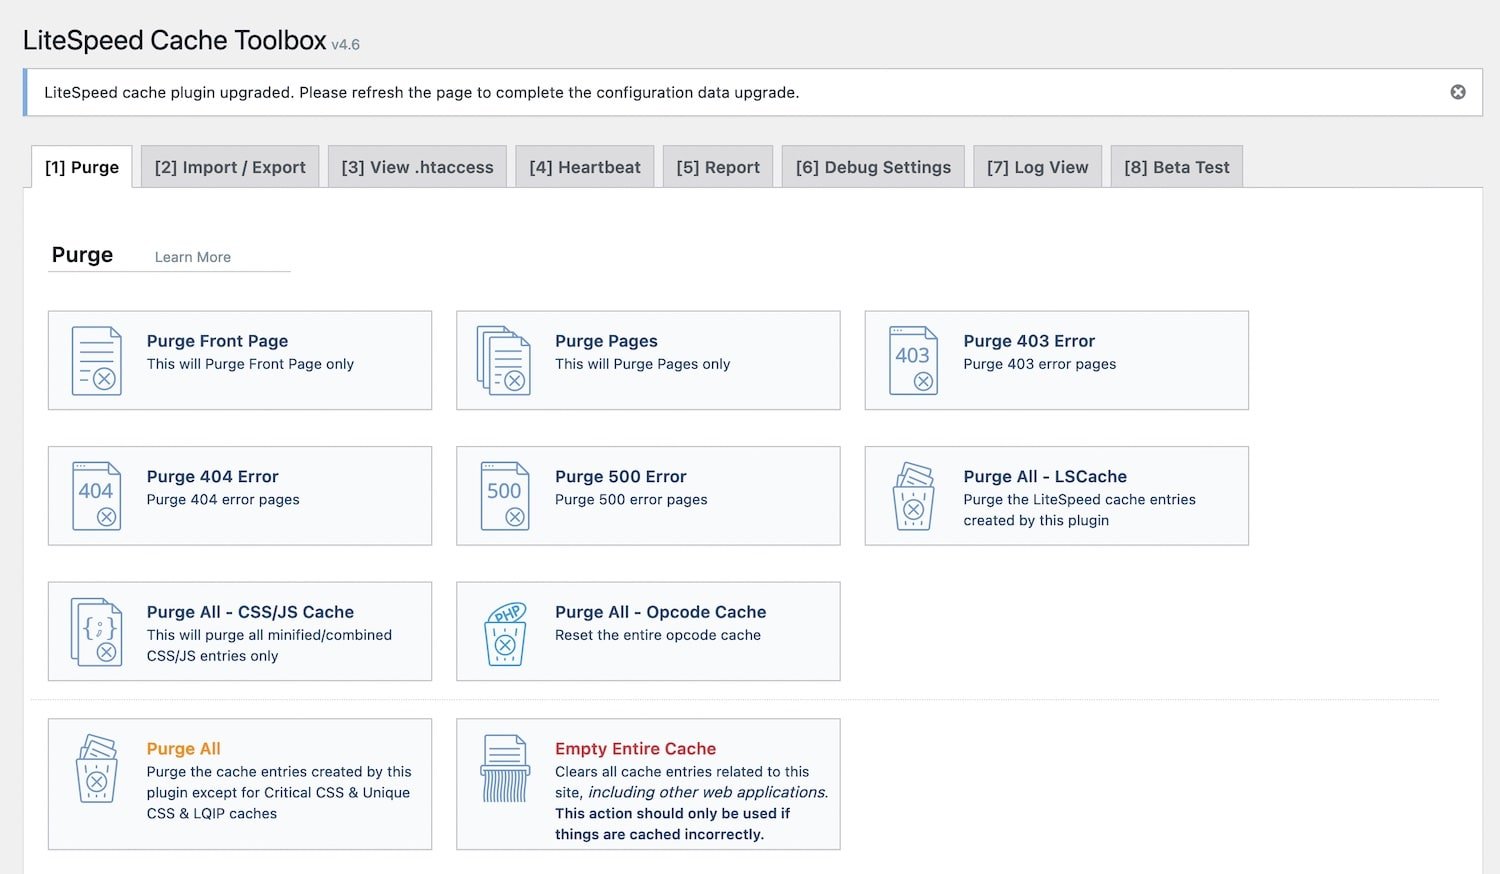
But recently I noticed that in some of the LiteSpeed cache plugin’s settings pages, this notice was stopping the options from loading. And that’s when I decided to deal with this annoyance which I had ignored for a few months.
This quick little tutorial is about getting rid of the notice – ‘LiteSpeed cache plugin upgraded. Please refresh the page to complete the configuration data upgrade.’
Step 1
Backup your website, especially the database. I use the free UpdraftPlus backup plugin connected to a Google Drive account for the complete backup and restore of my websites.
Once done, deactivate the LiteSpeed cache plugin.

Step 2
Make a file called repair.php on your computer. Open it and add the following text into this file.
<?php
define( 'WP_USE_THEMES', false );
require( './wp-load.php' );

global $wpdb;
$table_name = $wpdb->prefix . 'options';
$table_name = "{$wpdb->prefix}options";
$wpdb->query( $wpdb->prepare( "DELETE FROM `$table_name` WHERE `option_name` like '%litespeed.%' " ) );


if ( defined( 'LSCWP_V' ) ) {
do_action( 'litespeed_purge_all' );
}
echo "done";
Now upload the repair.php file into your WordPress installation directory. It’s the same directory where files like wp-config.php, wp-settings.php and directories like wp-content are present.
Step 3
Visit the repair.php file using it’s full URL. For example, https://examplesite.com/repair.php (if WordPress is installed in the root directory) or https://examplesite.com/blog/repair.php (if WordPress is installed under a directory called /blog).
When you visit this file, all you see will be ‘done’ text. If so, you can close it.
Step 4
Delete the repair.php file from your WordPress installation directory. Reactivate the LiteSpeed Cache plugin from WP dashboard.
Refresh the page, visit a few pages under WP dashboard. You should no longer see the annoying notice ‘LiteSpeed cache plugin upgraded. Please refresh the page to complete the configuration data upgrade’ in your WordPress dashboard any more.
You are done.
Source: LiteSpeed Docs
Support Me: If this article/tutorial helped you today, please consider supporting me and help me run frunction.com