Let’s admit it. Sharing long URLs is old-fashioned. No one likes long, ugly URLs on the web. On social media, we use short URLs just about everywhere. You too, can create your own URL shortener for free and that too, on your own domain! How, you ask? Well, keep reading.
Short URLs not only make it easy to share and remember, they also put professional impression on your readers. You can have a look at any large website – like New York Times, Microsoft, The Next Web etc, they have one thing in common: They use their own URL shortener. You too, should definitely have your own URL shortener. Why? Because you can!
But What’s Wrong with Third-party URL Shortening Services?
Nothing. Absolutely nothing is wrong in using services like Google (goo.gl), Bitly (bit.ly) or any other service. URL shortening services like Bitly have provided the web with whole new way of sharing URLs. Thanks to these services, you no longer need to share a long, ugly URLs. There are services that even pay you for sharing links via their service.
But, if you want your links to look more professional, and you want to have complete control over your links, then you should consider creating your own URL shortener.
Create Your Own URL Shortener: Benefits
Your own link shortening service help you win visitors’ trust. They know that the links you’re sharing are safe because they come from your own domain.
In addition, you hold complete control over your links. You can add, edit, remove your URLs and their destination anytime you want. You can also decide the link itself.
You can also use your link shortener to cloak affiliate links. Affiliate links like Amazon product links are usually long and are useless even if a character is missing. If a reader decides to copy and paste this URL, it’s possible they miss something in the process. If you cloak URLs under your own domain (like example.com/out/product), it improves chances of you getting the referral.
Many bloggers like use their own URL shorteners because they want to keep a track of their URLs (like its stats, referrers, location etc). Owning your link shortening service makes it very easy to stay in control and keeping a track of how well your links are performing.
The best part? It’s completely free to setup a URL shortening service on your own domain.
How to Create Your Own URL Shortener for Free?
I like your enthusiasm – you really want to create your own URL shortener. But read the following requirements before you continue. This will make your work easier.
Requirements
- You need to have a working domain and hosting plan.
- Basic knowledge of cPanel.
- In addition, you need to have a server with mod_rewrite enabled, running at least PHP 7 and MYSQL 5. Most modern hosts like SiteGround support these requirements out of the box. Check with your host if you’re not sure.
- A tank full of patience and common sense, ability to solve things on your own.
We will be using YOURLS as the backend of our URL shortening service. YOURLS aka Your Own URL Shortener, is an open-source PHP script which will provide us with all set of tools required to create and manage short links.
Alright. Let’s begin, shall we?
Method 1: Using cPanel
If your webhost offers cPanel, this is how you install YOURLS. I will be showing the YOURLS installation on a SiteGround cPanel. Locations/names of options might vary in your host.
Step 1
Log in to your cPanel.
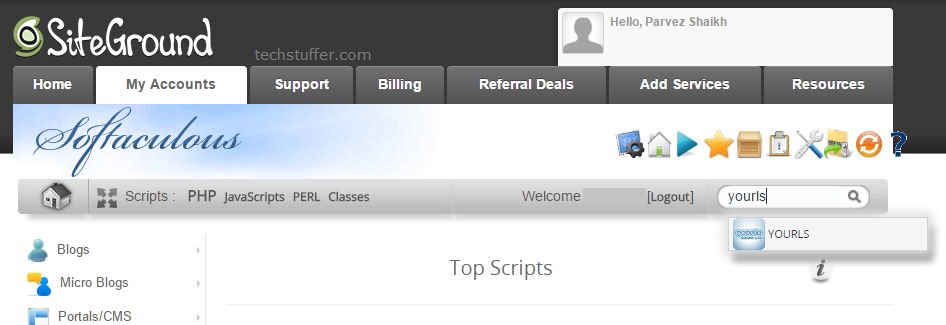
Look for your software installer (It’s Softaculous on most hosts) and click on it to open.
User the search bar above to search for YOURLS and open it from search results.
Step 2
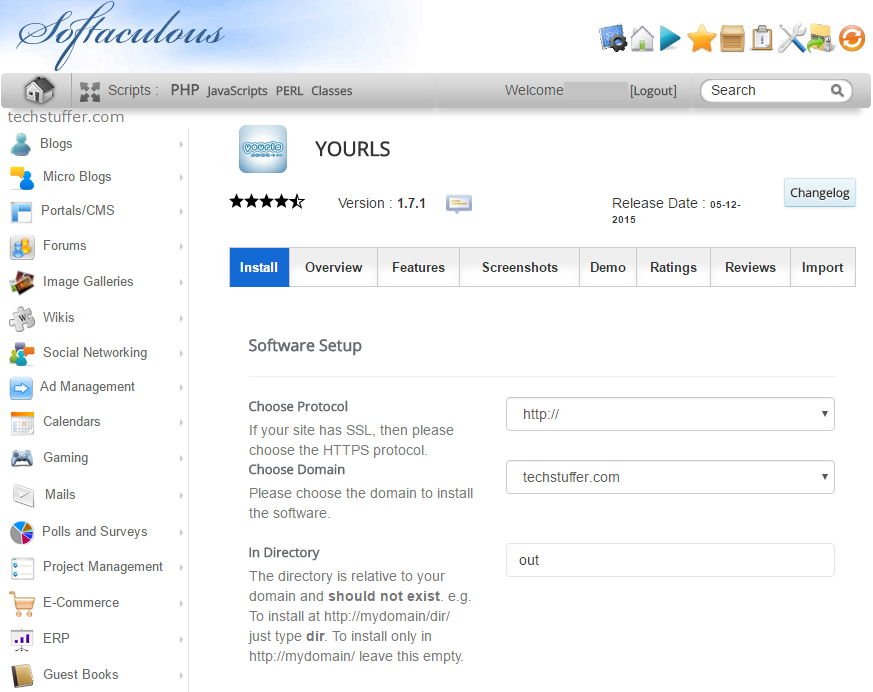
Once inside YOURLS, click Install tab. This will bring you to Software Setup screen.
Now we will choose our domain (if you have more than one) on which we need to setup URL shortening service. I am choosing techstuffer.com.
Next is to enter the directory in which to install YOURLS.
Remember: The directory you add here will become your short URL path. If I enter out, then my URLs will look like techstuffer.com/out/xyzabc. You can enter anything like to, go, out, refer, recommend or anything of your choice.
Also make sure whatever directory you enter, it should not exist already.
Whatever you choose, simply enter the word, without leading or following slash (/). I am entering out.
Step 3
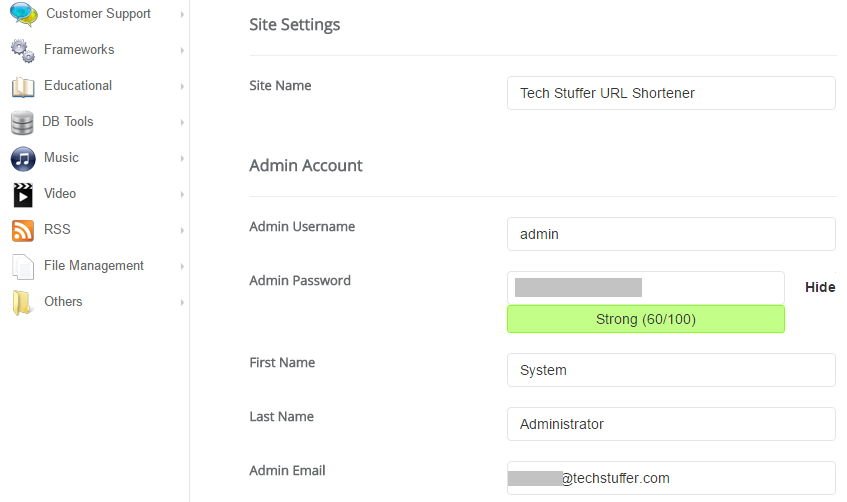
Now scroll down to find Site Settings and enter what should the name of your URL shortener site look like. You can enter anything. I’m entering Tech Stuffer URL Shortener.
Step 4
Under Admin Account, enter your admin account name and password. If you choose admin, you will have to log-in to your URL shortener using admin and the password you choose here.
Caution: Choose a strong password, you don’t want spammers to log in to your service and use it for their purpose -unless you wish to create a public URL shortening service.
Now enter your name and email ID.
If you wish to change the database name and table prefix (not necessary), click on Advanced Options and do so. You can also choose to automatically upgrade YOURLS.
Step 5
Take a look at everything you’ve entered. Note the username and password you chose. You will need this to log in to admin interface. Once everything looks as it should, click Install.
It will take no more than a minute to complete the installation.
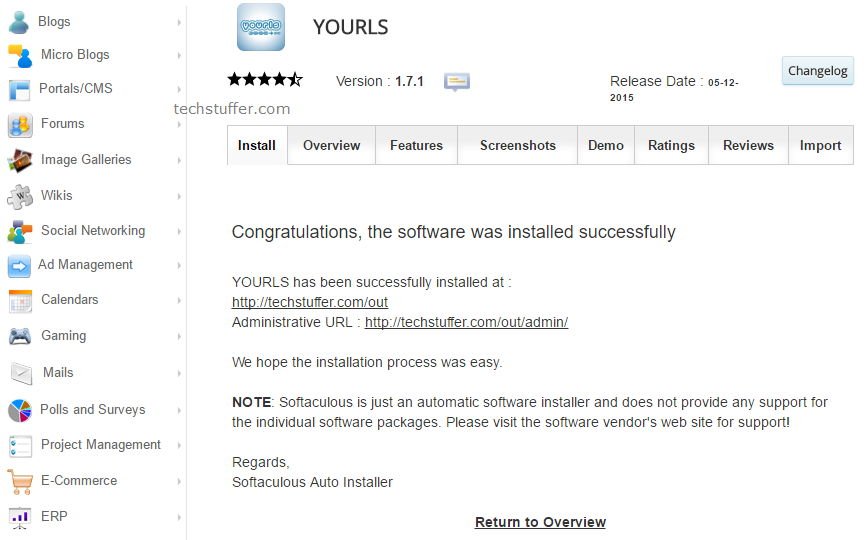
After the installation is finished, you will be presented with the success screen which will show the administrative URL of your URL shortening service. Whenever you wish to login to your YOURLS admin interface, you will need this URL. Mine will be techstuffer.com/out/admin/
Method 2: If Not Using cPanel
If you do not have cPanel or have other control panel that does not offer YOURLS, you can still install it on your server. You need the ability to create MySQL database and file manager/FTP to upload and edit files.
Step 1
On your server, create an SQL database. Note down your database name, username, and password.
Step 2
Download YOURLS package on your computer and extract it. Navigate to the user directory. Open the config-sample.php file with a text editor.
Step 3
In the config-sample.php file, make the following changes.
- Enter the name of the database user you created in Step 1 where it says your db user name and your database password where it says your db password.
- Enter the name of the database where it says define( ‘YOURLS_DB_NAME’, ‘yourls‘ ). Replace yourls with your database name.
- Change database table preset if you prefer or leave it as it is.
- Under YOURLS installation URL, enter full URL of your URL shortener. I will enter https://frunction.com/out. The directory has to match the value in Step 5.
- Visit http://yourls.org/cookie. Copy the random key that’s generated on the page. Paste the copied string in place of modify this text with something random.
- Under $yourls_user_passwords, replace username and password with the combination you would like the YOURLS admin to use. Example: admin as username and arandom@password1 as password. This is different from your database username and password.
- If you would like all your future short URLs to be a mixture of small and upper case characters, replace 36 with 64 where it says define( ‘YOURLS_URL_CONVERT’, 36 ). If you wish to keep all characters in small, leave it as it is. Note: You can not change this value afterwards.
Save the file as config.php.
Step 4
Create a directory on your server as you would like to be the part of your short URL. For example, if you want your URL to look like yourshorturl.com/out/xyz1, create a directory called out. This directory has to be the same value as you entered in Step 4’s YOURLS installation URL section. Note that you can’t change this later without breaking all your short URLs. So be creative and keep it small. I will create a directory called out here.
Step 5
Copy all the content from the YOURLS folder on your device to the directory you just created on your server.
Step 6
Now visit https://yourshorturl.com/out/admin. I will visit https://frunction.com/out/admin. Make sure to replace it with your own domain and directory.
If all steps were followed correctly, you will see Install YOURLS screen. Click the install button and you should see confirmation of the installation being complete.
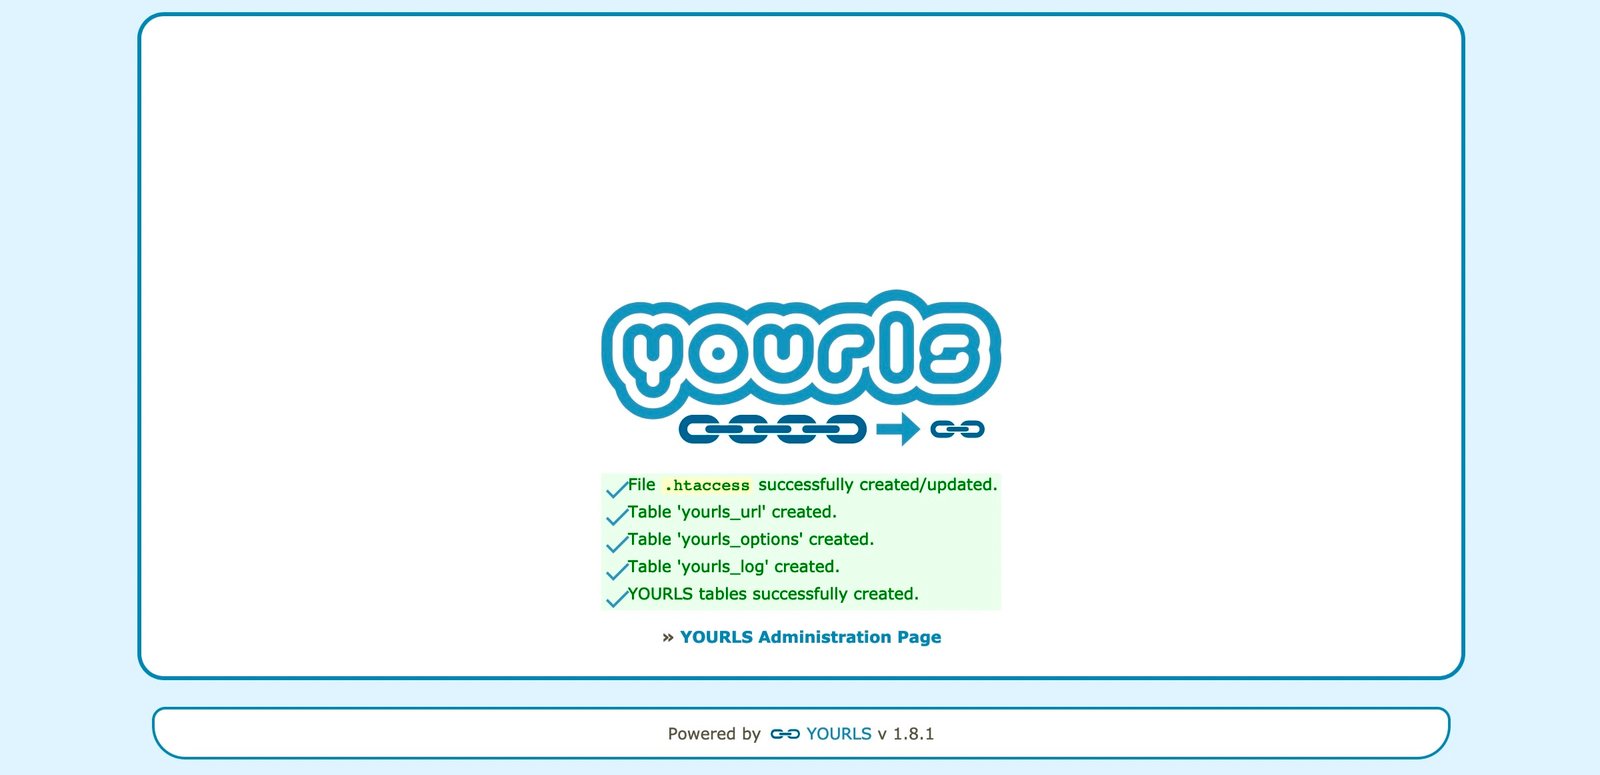
Click YOURLS Administration Page link. Login with the username and password you entered Step 3.
That’s it. You have now successfully installed YOURLS on your server. You can start using it right away. How? Let me explain.
How to Use YOURLS to Shorten URLs?
Now that your very own URL shortener is up and running, familiarise yourself with the admin interface.
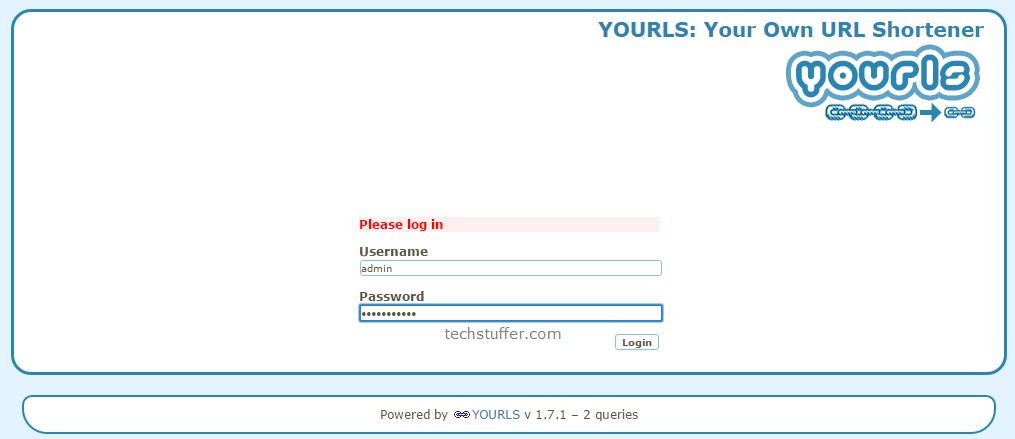
Log in to the YOURLS admin interface by following the link shown on screen and using the username and password you chose.
Once you log in, you will see how the admin interface looks like. You will notice three short links already created to give you idea about how short links will work on your setup.
For example, if you follow the first link (ozh), you will be taken to the website of Ozh Richard – the creator of YOURLS.
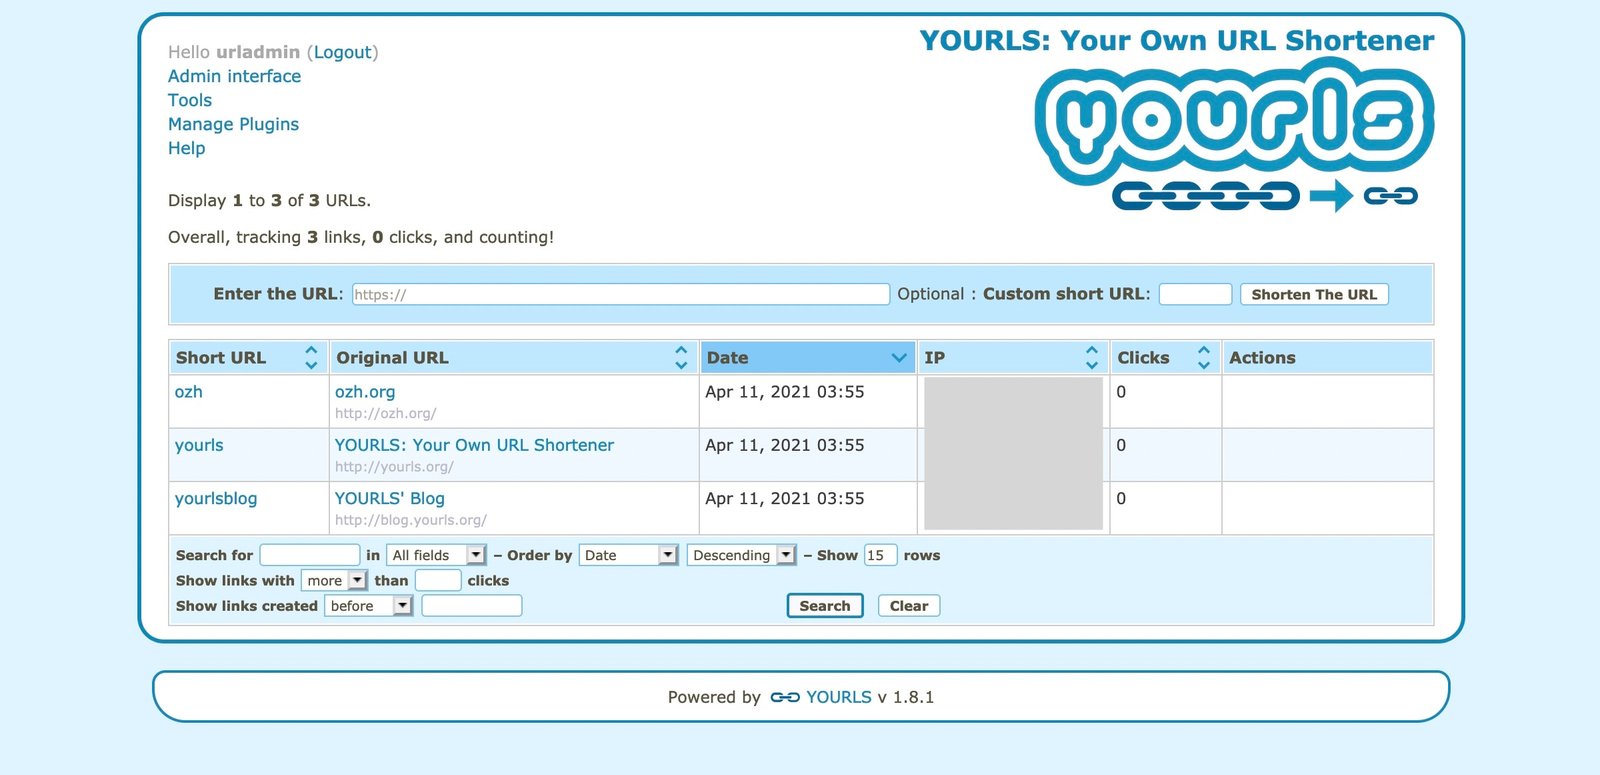 YOURLS Admin Interface
From this interface, you can start creating short links. To do so, enter a long URL in Enter the URL area. Now if you wish this URL to have a specific text, then enter it under Custom short URL. This is used when you want to enter a product/company name.
As an example, I will add https://frunction.com/a-tutorial-about-something under Enter the URL and tut123 under Custom short URL. My short link here will be https://frunction.com/out/tut123 and if someone followed it, they will be taken to the long URL.
If you would rather have random short URLs, you can leave Custom short URL section empty.
Now go ahead and test out a few links. See if things are working out as intended.
Optional: Set Short Links to Have Random Characters Automatically
If you have noticed, your short links without Custom short URL begin with 1, 2, 3 etc. This is not an ideal way of sharing links. Your short links should carry longer and random characters at the end. So every time a new link is added either manually or automatically, they will look like techstuffer.com/out/xydvsd.
If you wish to do so, you will need to install a plugin in YOURLS. Just like plugins in WordPress, YOURLS plugins help enhance its functionality. You can have a look at all YOURLS Plugins on its Github page.
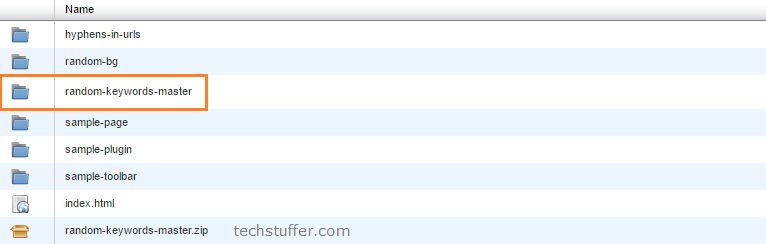
Okay, now we will download the Random Keywords plugin from the Github page. Find Random Keywords, click on it and click download as a Zip. This will download a small Zip file on your device.
Now upload the random-keywords-master.zip file to your server under /yoursever/out/user/plugins and extract it there. Replace out with whatever term you used before.
Go to the YOURLS admin interface > Manage Plugins and activate the Random Keywords plugin.
That’s it. From now on, your short links will have random characters instead of numbers like 1, 2, 3.
Configure Your URL Shortener to Work with WordPress
Of course going to admin interface and creating new links every time a new article is published on your blog is time consuming. This is why you should configure the link shortener you just created to work with WordPress. After which, a short link will be generated automatically each time a new article is published.
For this, you will need to install YOURLS Link Creator plugin in WordPress. After you install and activate this plugin, you can configure it using YOURLS API.
Go to YOURLS admin interface > Tools. Find your secret signature token under Secure passwordless API call and copy it.
Go to WordPress dashboard > Settings > YOURLS Settings. Ebter your YOURLS installation URL and the secret key you copied in respective fields. I will enter the URL as http://techstuffer.com/out.
Also check Auto generate links, Scheduled Content and Use YOURLS for short link options. If you have custom post types (like WooCommerce products) and you want them to have their short links as well, then check the Include Custom Post Types and select which custom post types will have their short links automatically created.
Click Save Changes.

Now every time a post is published on your blog, a new short link will be automatically generated. You can find the short link to an article under Edit Post area (after you click Publish) and in the YOURLS admin interface. You can copy and share this link anywhere you want.
How to Create A Free URL Shortener: Summary
Using your own URL shortener is professional and because it carries your own brand name, it also adds trust to your short links. Instead of using third-party URL shorteners, you can make your own URL shortener for free and have complete control over it. YOURLS is simple to use and does not require much maintenance beside of course, updates and backup.
Social media, emails, product affiliate links within your posts – you can use these short URLs anywhere you would use long links.
I have updated this tutorial partially to include the latest YOURLS version 1.8.1.
Support Me: If this article/tutorial helped you today, please consider supporting me and help me run frunction.com